The brakes are one of your car’s most important safety features. Serious errors may result if they malfunction or fail to operate properly. That’s why maintaining the condition of your brake pads is so crucial. We will cover all you need to know about replacing your car’s brake pads change guide, including wear indicators to detailed instructions.
This Brake Pads Change Guide can help you save money and stay safe, regardless of your level of automotive knowledge.
What Are Brake Pads?
The braking system of your vehicle requires brake pads. When you press the brake pedal, the applied pressure from the brake pads slows the brake discs, also known as the rotors. Pt. Waiting too long will weaken your brakes and could harm other parts of your brake system.
Why Brake Pads Wear Out
Your brake pads lose some of their surface area each time you apply the brakes. This is typical. However, driving downhill, lifting large loads, and driving in traffic can all cause your pads to wear out more quickly. This Brake Pads Change Guide is crucial since it explains when it’s time to change your brake pads.
Signs Your Brake Pads Need Changing
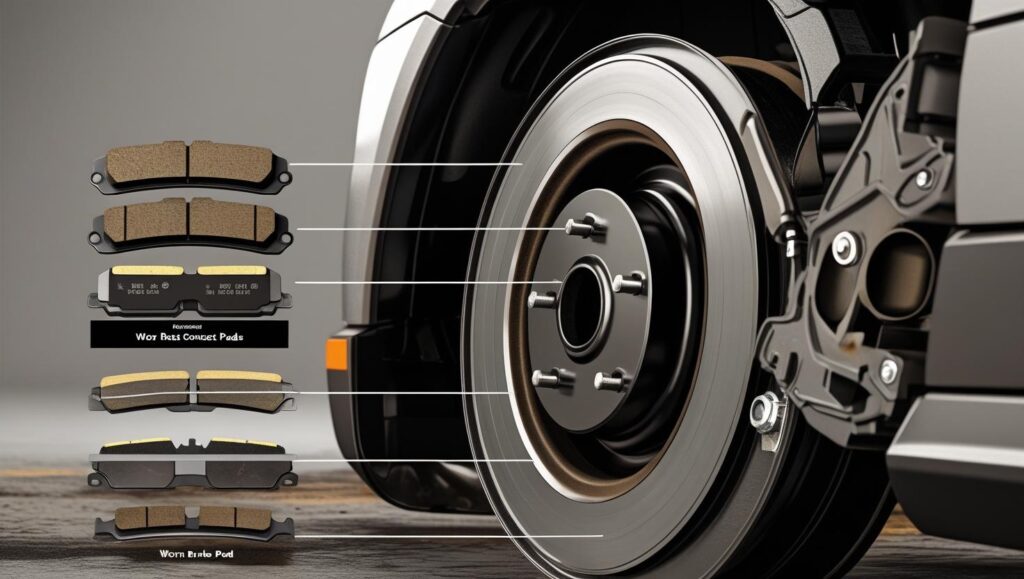
Here are some common signs that your brake pads may be worn out:
- Squeaking or squealing noise: This is often the first sign.
- Longer stopping distance: Your car takes more time to stop.
- Brake warning light: Some cars have sensors that alert you.
- Grinding sound: This means the pads are worn down completely.
- Vibrating brake pedal: If your car shakes when you brake, it could be bad pads or rotors
If you notice any of these, refer back to this Brake Pads Change Guide and check your brake system as soon as possible.
How Often Should You Change Brake Pads?
The average brake pad lifetime is between 30,000 and 70,000 kilometres, depending on your driving technique and the type of pad your vehicle is using. To find the ideal timing, always inspect your car’s manual or consult a mechanic. Every time you get an oil change or regular service, our Brake Pads Change Guide advises checking your brake pads.
Tools You’ll Need
Before you start replacing your brake pads, gather the following tools:
- Jack and Jack stand
- Lug wrench
- Socket wrench
- C-clamp or brake piston tool
- New brake pads
- Safety gloves, wheel chocks
This Brake Pads Change Guide assumes you’re working at home, so be sure you’re in a safe, flat area with the parking brake on.
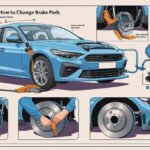
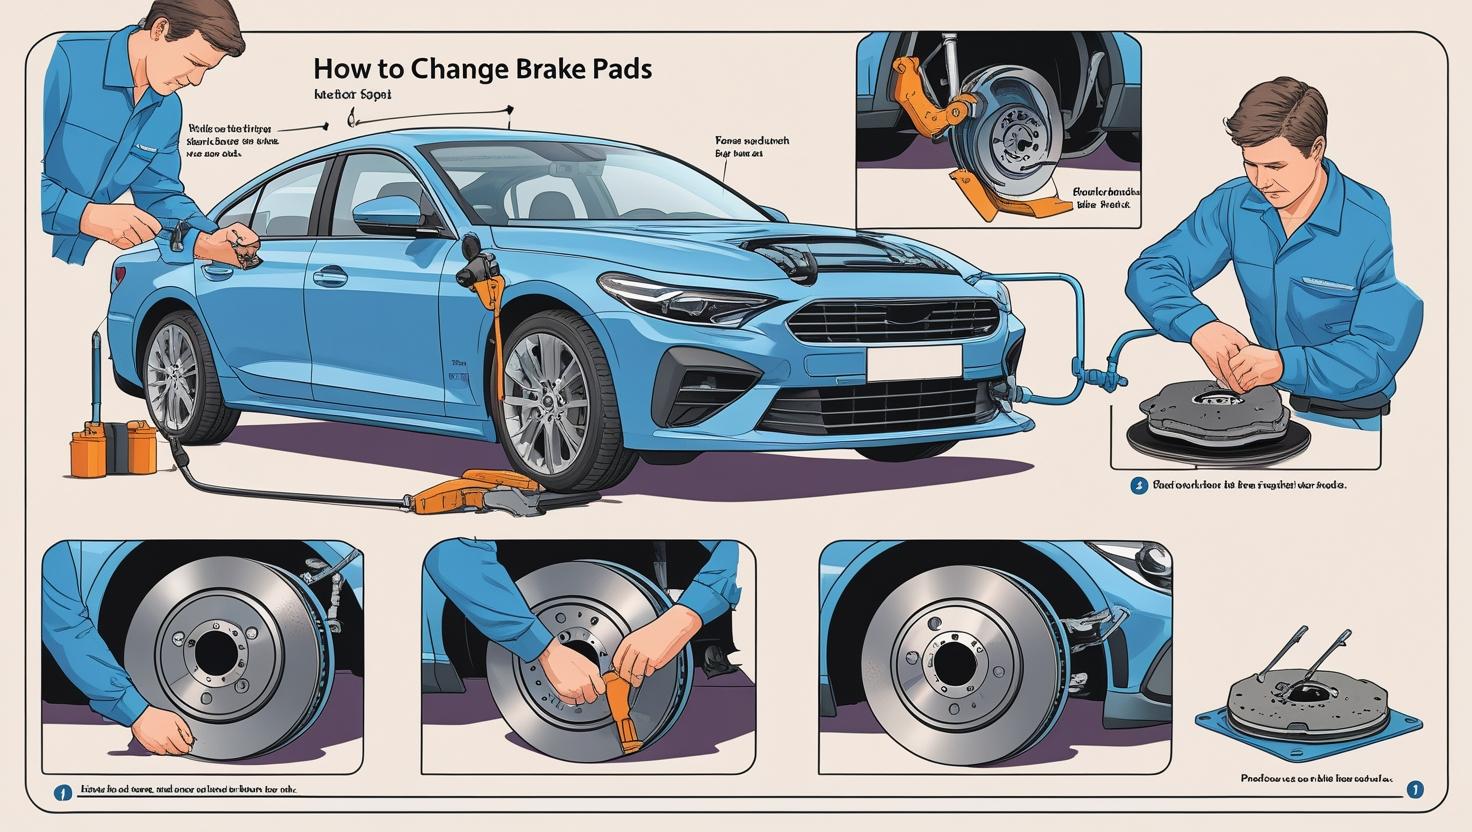
Step-by-Step: How to Change Brake Pads

Changing your brake pads might sound hard, but it’s something you can do at home with the right tools and care. Follow this Brake Pads Change Guide step by step:
1. Park Safely
Verify that the spot where you are parking your car is level. Wheel chocks should be placed behind the wheels you are not working on, and the parking brake should be applied.
2. Loosen the Lug Nuts
Use the lug wrench to slightly loosen the lug nuts on the wheel you’ll be working on.
3. Lift the Car
Use the jack to lift the car and place it securely on jack stands.
4. Remove the Wheel
Now, take off the loosened lug nuts and remove the wheel.
5. Remove the Calliper
The brake pads are held in place by the brake calliper. The callipper bolts can be removed using your socket wrench. Do not let the calliper hang from the brake hose; carefully slide it off and hang it from a wire.
6. Remove Old Brake Pads
Remove the old brake pads from the bracket that holds the callipers. Take note of their placement so that the new ones may be installed correctly.
7. Compress the Piston
The piston must be carefully pushed back into the calliper using a G-clamp or brake tool. The new pads can now be installed.
8. Install New Brake Pads
Put the new brake pads in the same position as the old ones. Make sure they fit snugly.
9. Reattach the Calliper
Place the calliper back over the new pads and tighten the bolts securely.
10. Reinstall the Wheel
Reinstall the wheel and manually tighten the lug nuts. After lowering the vehicle, fully tighten the lug nuts in a star pattern
11. Test the Brakes
Before driving, press the brake pedal a few times until it feels solid. This helps the pads settle into place.
After the Brake Pad Change.
After completing this brake pads change guide, your vehicle is ready for safe driving. Try to avoid forceful braking for the first 200-300 km. This prolongs the life of the new brake pads by allowing them to “bed in” properly.
Tips to Make Brake Pads Last Longer
Here are some bonus tips from our brake pad change guide that will help you take care of your new pads:
- Don’t drive with a heavy foot.
- Avoid sudden braking unless necessary.
- Don’t overload your car often.
- Get your brake fluid checked regularly.
- Drive gently, especially in traffic or city streets.
When to Visit a Mechanic
While this brake pads change guide is useful for do-it-yourself projects, not everyone is a vehicle mechanic. If you’re not sure, always have a professional do the job. During the pads change process, mechanics may also inspect your rotors, braking fluid, and other elements.
Conclusion
Maintaining your brakes is very important. When brake pads wear out, your life and the lives of other drivers are at stake. The brake pads change guide shows that it’s not as difficult as you might think. With the right tools and a little patience, you can maintain your brakes and drive with assurance.
We hope the brake pads change guide has given you a better understanding of when and how to replace your vehicle’s brake pads. Every driver should have their brakes checked frequently, whether they do it at home or by a professional.