The most effective way to start selling goods and services online is to creating an e-commerce website in WordPress. While WooCommerce is a popular technology, WordPress offers a simpler and more user-friendly option for building an online business. In the sections that follow, we’ll walk you through each step of the process.
Step: 1 choose a domain name and hosting

The first step in creating a website is registering a domain name, it acts as its URL, for example, https://yourstore.com.
Then you will need web hosting. Your website files are stored on hosting. Getting reliable hosting with better performance and security is a must for e-commerce businesses. WordPress-optimized plans are often available from well-known web hosting providers like Hostinger, Bluehost, SiteGround, or Hostgator.
The supplier usually offers you the option to register your domain after purchasing hosting.
Step: 2 install WordPress

Allow installingOne-click WordPress installation is available from most hosting services. Most hosting panels allow installing WordPress during the hosting setup process. If you follow the instructions, WordPress will be up and running in an issue of minutes.
Once set up, visit yourdomain.com/wp-admin to access your WordPress dashboard.
Step: 3 install and e-commerce plugin (Woo commerce)
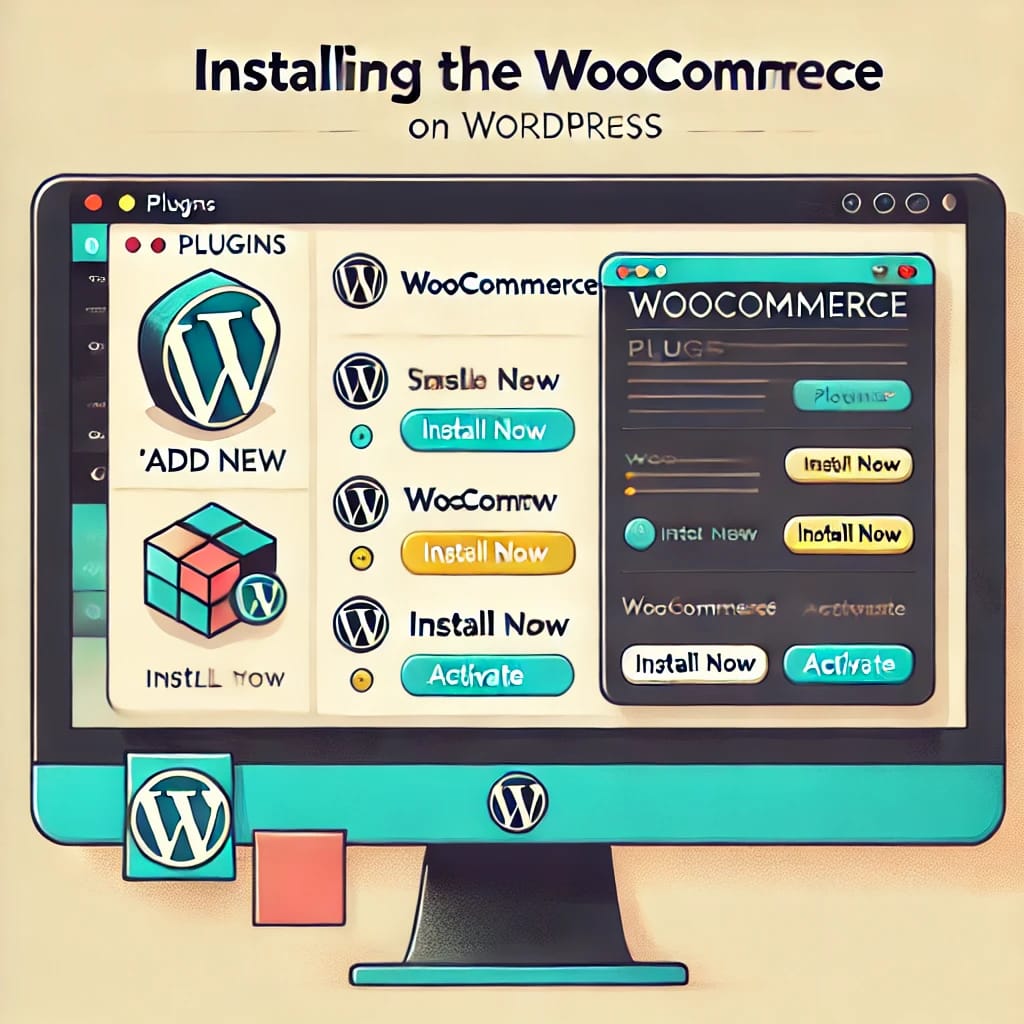
WordPress does not have e-commerce tools out of the box, therefore you will need a plugin to create an online store. WooCommerce is the most popular and dependable option to choose this.
Install The WooCommerce:
- Log in to your WordPress dashboard.
- Navigate to Plugins > Add New.
- Search for “WooCommerce” and click Install Now.
- After installation, click Activate.
The WooCommerce setup process will walk you through the basic shop designs, including shipping, payment options, and currency.
Step: 4 Choose and install a theme in WordPress
The appearance of your website is determined by its theme. Use a theme that is compatible with WooCommerce for e-commerce, like:
Installing a theme:
1. Select Add New under Appearance > Themes.
2. Click Install after finding a theme.
3. Select Appearance > Customize after activating the theme.
Step: 5 add your product
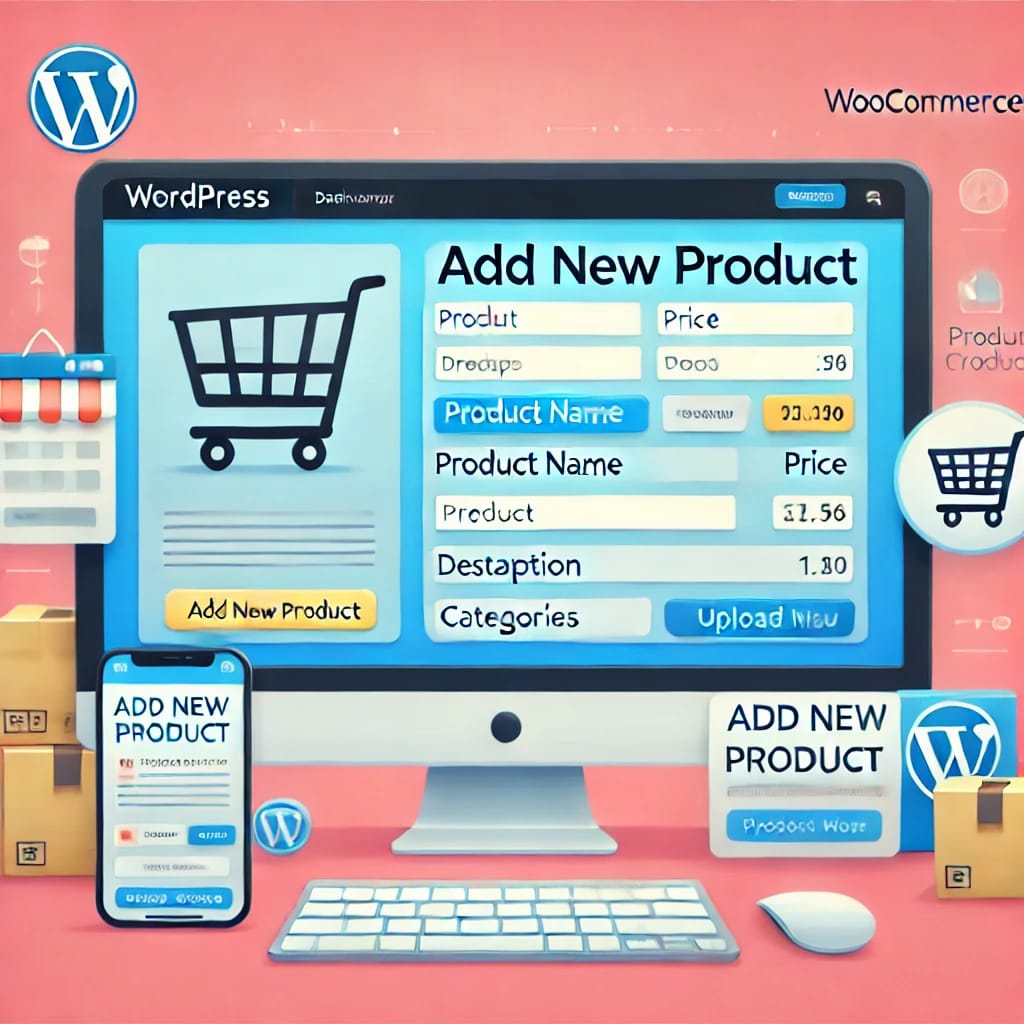
One of the most important tasks in Creating an e-commerce website in WordPress makes this process simple:
- Select Products > Add New.
- Enter the following information:
Product name: choose a description name
Product photos: Provide clear photos of your goods.
Pricing: Decide on standard and discounted prices.
Categories: To make navigation easier, organize your products by category.
- Press “Publish” to activate the product.
Follow these procedures again for each product you want to sell.
Step 6: setup payment method
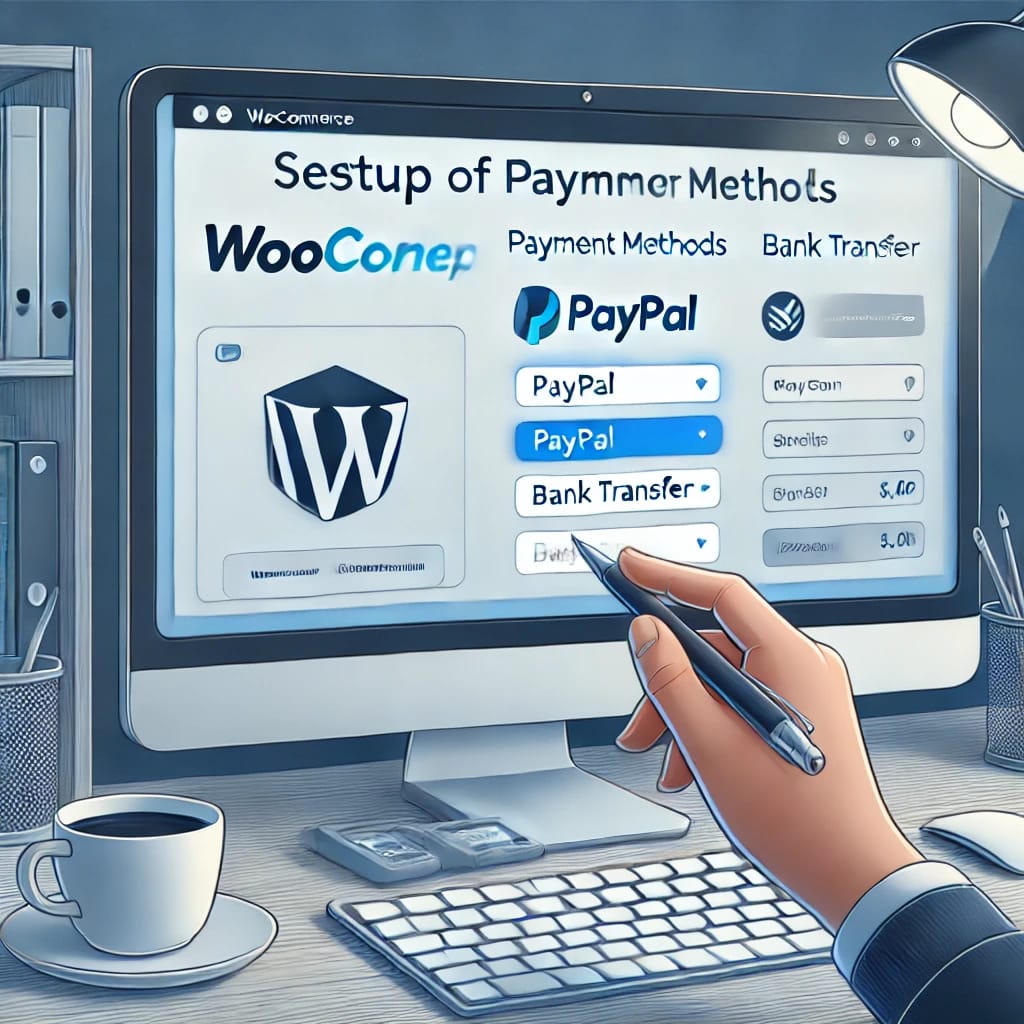
The payment process on your eCommerce website should be smooth. WooCommerce accepts credit cards, PayPal, Stripe, and other popular payment methods.
1. Go to Settings > Payments under WooCommerce.
2. Activate the payment gateway of your choice.
3. Set preferences and link your accounts (for example, your Stripe or PayPal account).
To protect transactions, ensure your website has an SSL certificate. Most hosting companies offer free SSL certificates.
Step 7: Configure shipping option
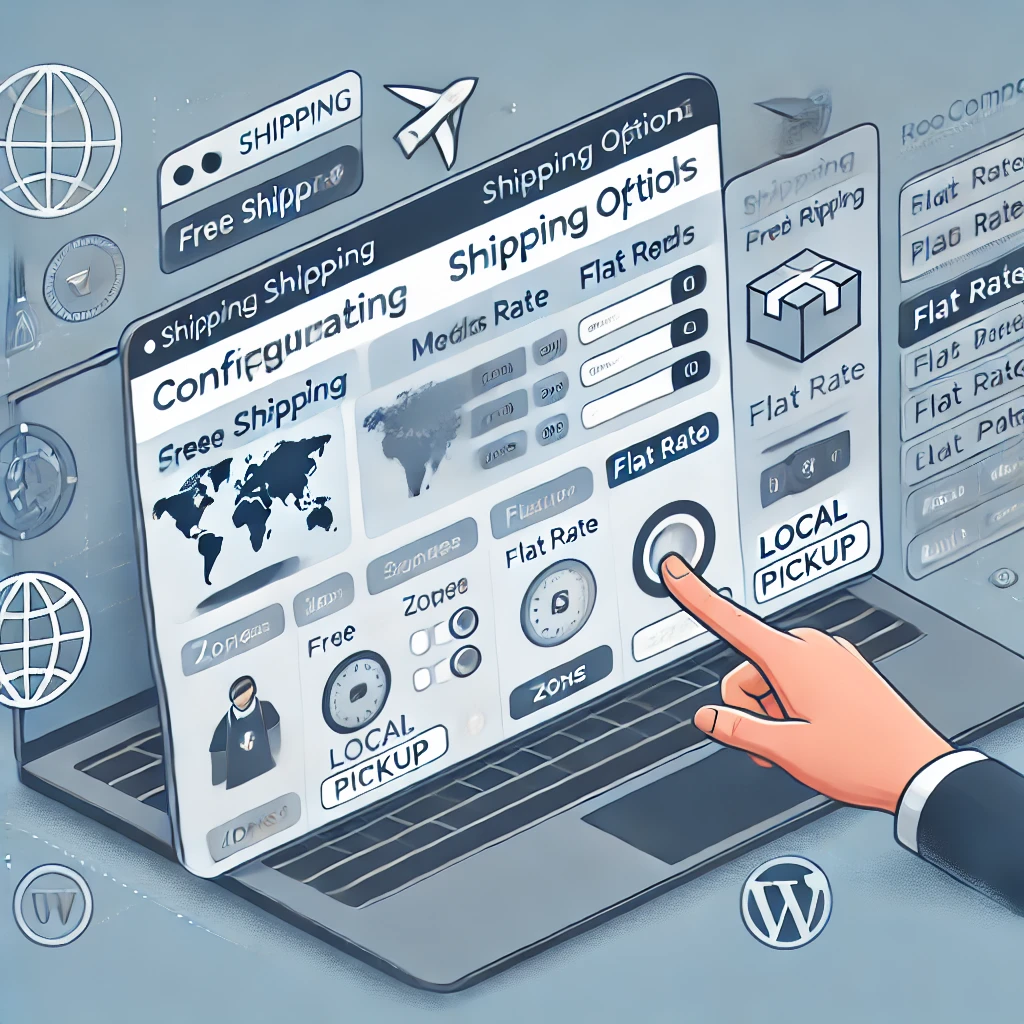
Setting up shipping is essential if you’re selling physical products. With WooCommerce, you can customize deliveries by weight, location, or fixed prices.
1 Go to WooCommerce > Settings > Shipping.
2. Add shipping zones (ex, local, national, and international).
3. Specify shipping options for each zone, including free shipping, flat fee, or real-time carrier pricing.
More comprehensive shipping options can be obtained by installing plugins like WooCommerce Table Rate Shipping.
Step: 8 optimize your website for SEO

To increase website traffic, search engine optimization or SEO is essential. To maximize:
1. Install the Yoast SEO plugin.
2. Include relevant keywords in product descriptions, meta tags, and titles
3. To increase site speed, use compressed photos.
4. Start a blog to attract readers and provide useful content.
Step: 9 taste your website

Before launching your e-commerce website, test all of its features:
Check the accuracy of product pages.
Place a test order to confirm the checkout process works.
Confirm payment and shipping methods.
Step: 10 launch your website
Now it’s time to Creating an e-commerce website in WordPress once everything is configured and tested. To attract clients, advertise online, as a content writer, through email and on social media.
How to create portfolio Website Check out this page
Conclusion
Creating an e-commerce website in WordPress a company is not as difficult, as you might think. If you follow the steps above, especially steps 5 (production hookup) and 6 (setting up payments) you will have a ready-to-use, professional internet store. Start small and grow your e-commerce firm by providing a great shopping experience.


